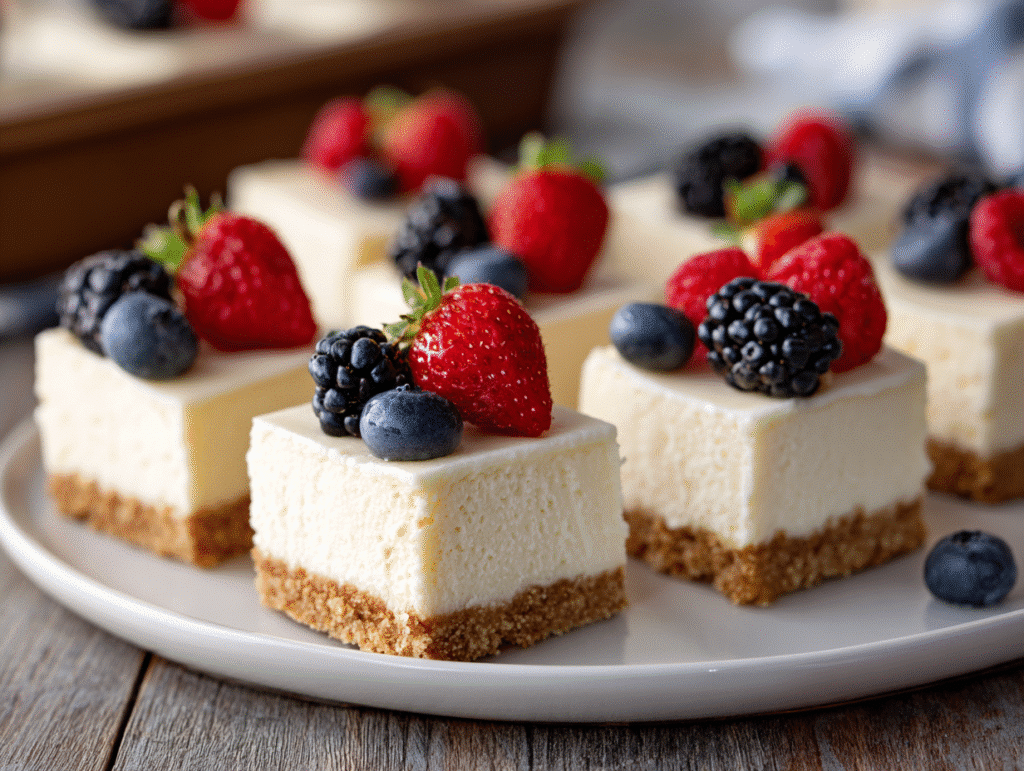
There’s a special kind of joy in serving a chilled, creamy dessert when the weather’s warm and everyone’s gathered around the table. No bake cheesecake bars have been my summertime secret for years—easy enough for a weeknight, special enough for a birthday or picnic. I started making these when my kids were little, and even now, they can’t wait to sneak a corner before dinner’s done chilling. It’s the kind of recipe that feels like a little piece of home, shared one square at a time.
Why You’ll Love These No Bake Cheesecake Bars
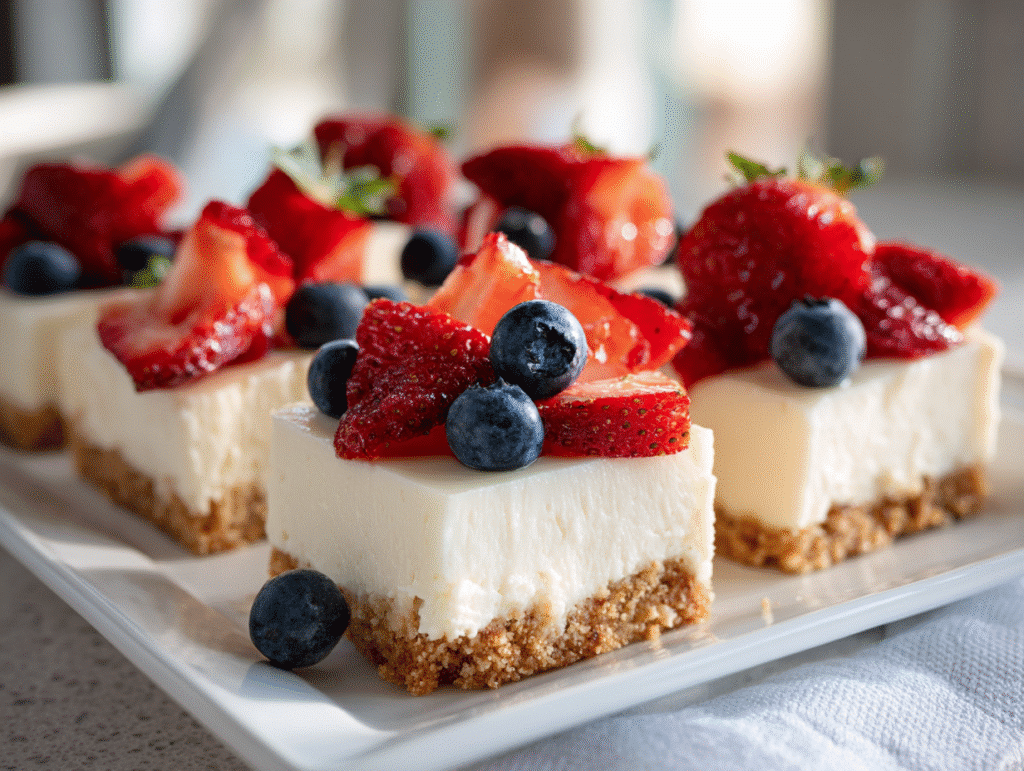
These bars are everything you want from a classic cheesecake—smooth, tangy, and just sweet enough—without ever touching the oven. No‑bake means less mess, less stress, and a dessert that’s ready to slice after just a few hours in the fridge.
Quick‑Glance Table
| Prep Time | Chill Time | Total Time | Yield | Pan Size |
|---|---|---|---|---|
| 15 min | 4 hours | 4 hr 15 min | 12 bars | 8×8 inch |
They’re perfect for backyard parties, lunchbox treats, or those days when the kids ask, “Is there anything sweet?”—and you want to say yes, without heating up the house.
Looking for more easy dessert bars? Try my Mason Jar Dessert Recipes or my Hot Honey Sauce Recipe for another crowd-pleaser!
Table of Contents
Table of Contents
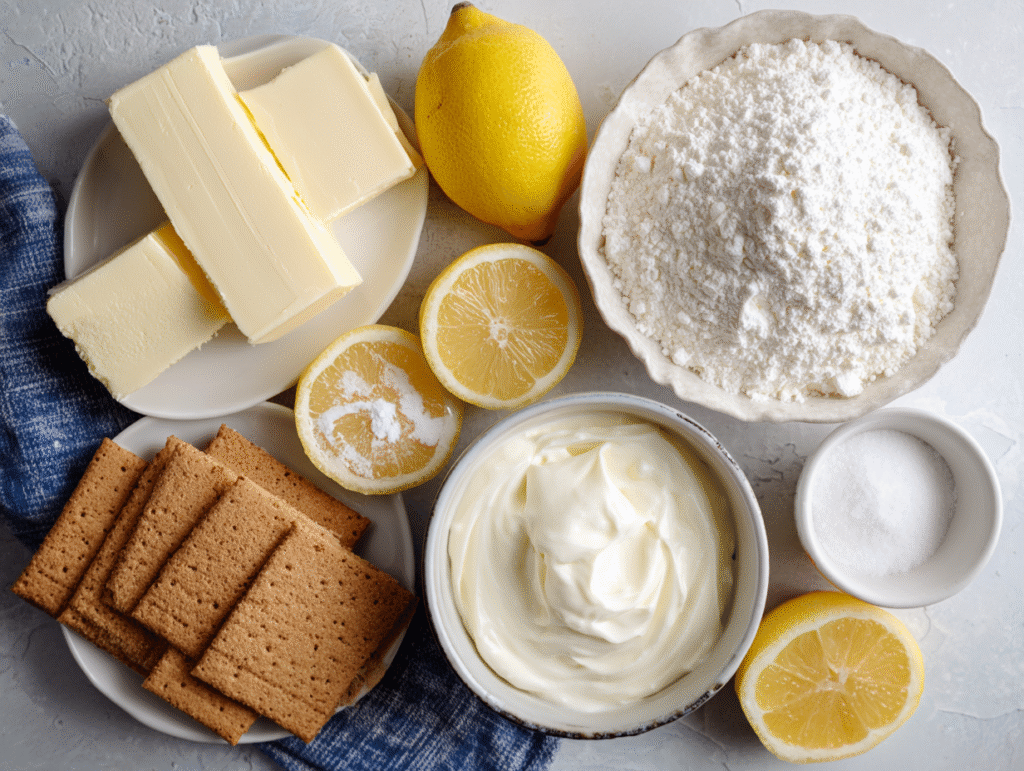
Ingredients for the Best No Bake Cheesecake Bars
For the Graham Cracker Crust
- 1½ cups graham cracker crumbs (about 10 full sheets)
- ⅓ cup granulated sugar
- 6 tablespoons unsalted butter, melted
For the Creamy Cheesecake Layer
- 16 oz (2 blocks) cream cheese, softened
- ½ cup granulated sugar
- 2 teaspoons pure vanilla extract
- 1 tablespoon fresh lemon juice
- 1 cup heavy cream, cold
Ingredient Notes & Substitutions:
- For a fun chocolate twist, try using a chocolate base like these No Bake Oreo Desserts as inspiration for your crust.
- Need a gluten-free option? Swap in a base inspired by my Lemon Oatmeal No Bake Cookies (use gluten-free oats and skip the crackers).
- No heavy cream on hand? You can also make a lighter bar with the tips in these no bake protein bites for a creamy texture without cream.
How to Make No Bake Cheesecake Bars (Step by Step)
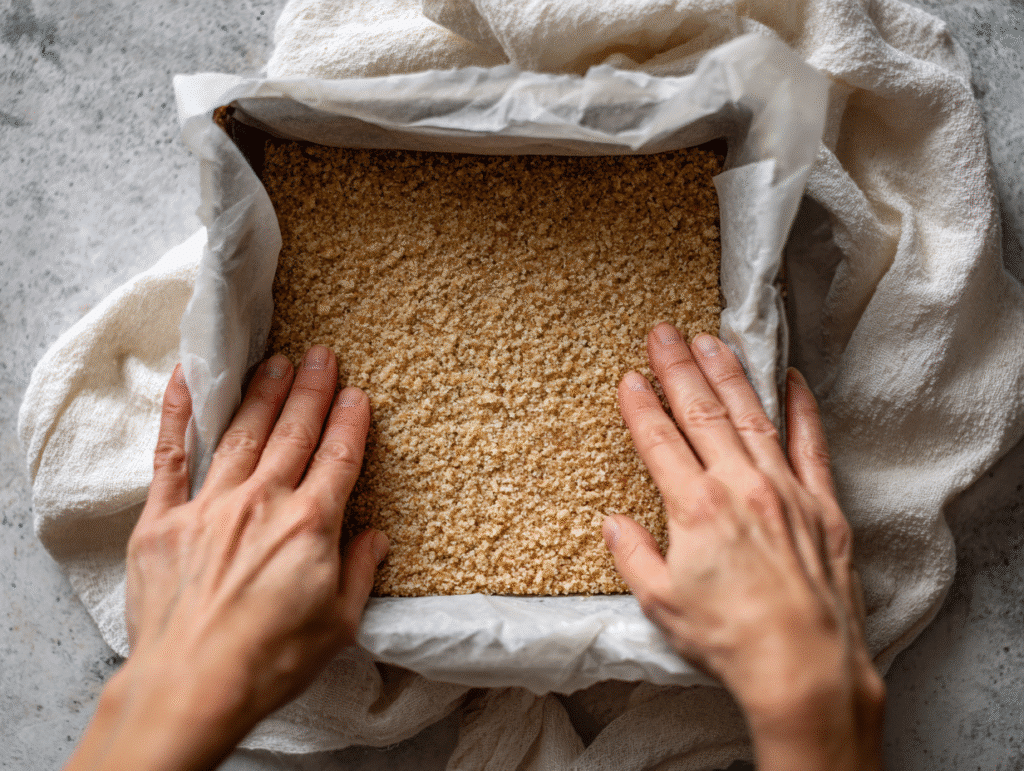
Step 1 – Prepare the Crust
- Line an 8×8 inch baking pan with parchment paper, letting the edges hang over for easy removal.
- In a medium bowl, mix the graham cracker crumbs, sugar, and melted butter until well combined. The mixture should look like wet sand.
- Press the crust mixture firmly and evenly into the bottom of the prepared pan. Use the bottom of a measuring cup or glass for a smooth, even layer.
- Place the pan in the fridge while you prepare the filling.
Step 2 – Make the Cheesecake Filling
- In a large bowl, beat the softened cream cheese with sugar until completely smooth and creamy—no lumps!
- Mix in the vanilla extract and lemon juice until combined.
- In a separate bowl, whip the cold heavy cream until stiff peaks form.
- Gently fold the whipped cream into the cream cheese mixture, being careful not to deflate the fluffiness.
- Spread the filling evenly over the chilled crust, smoothing the top with a spatula.
Step 3 – Chill and Slice
- Cover the pan with plastic wrap and refrigerate for at least 4 hours, or until fully set. Overnight is even better for the best texture!
- Once chilled, lift the cheesecake slab out using the parchment paper.
- Cut into 12 bars with a sharp knife, wiping the blade clean between slices for perfect edges.
Want more step-by-step no bake dessert ideas? Check out my No Bake Oreo Dessert for more inspiration, or see how to build layered treats in Mason Jar Dessert Recipes for easy serving at parties!
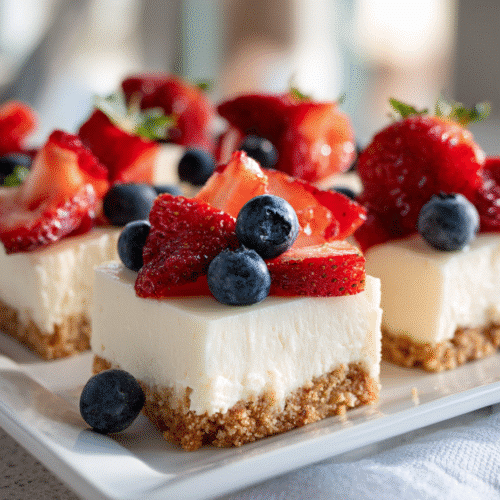
No Bake Cheesecake Bars
Equipment
- 8×8 inch baking pan
- Mixing bowls
- Hand mixer or stand mixer
- Spatula
- Measuring cups & spoons
Ingredients
For the Graham Cracker Crust
- 1 1/2 cups graham cracker crumbs
- 1/3 cup granulated sugar
- 6 tablespoons unsalted butter, melted
For the Cheesecake Layer
- 16 oz cream cheese, softened
- 1/2 cup granulated sugar
- 2 teaspoons vanilla extract
- 1 tablespoon fresh lemon juice
- 1 cup heavy cream, cold
Instructions
Prepare the Crust
- Line an 8×8 inch baking pan with parchment paper, letting the edges hang over for easy removal.
- In a medium bowl, mix the graham cracker crumbs, sugar, and melted butter until well combined. The mixture should look like wet sand.
- Press the crust mixture firmly and evenly into the bottom of the prepared pan. Use the bottom of a measuring cup or glass for a smooth, even layer. Place the pan in the fridge while you prepare the filling.
Make the Cheesecake Filling
- In a large bowl, beat the softened cream cheese with sugar until completely smooth and creamy—no lumps!
- Mix in the vanilla extract and lemon juice until combined.
- In a separate bowl, whip the cold heavy cream until stiff peaks form.
- Gently fold the whipped cream into the cream cheese mixture, being careful not to deflate the fluffiness.
- Spread the filling evenly over the chilled crust, smoothing the top with a spatula.
Chill and Slice
- Cover the pan with plastic wrap and refrigerate for at least 4 hours, or until fully set. Overnight is even better for the best texture!
- Once chilled, lift the cheesecake slab out using the parchment paper. Cut into 12 bars with a sharp knife, wiping the blade clean between slices for perfect edges.
Notes
Nutrition
(Nutrition is estimated and will vary based on actual ingredients used)
Pro Tips for Perfect No Bake Cheesecake Bars
- Room Temperature Cream Cheese: Always start with fully softened cream cheese for the creamiest, lump-free filling.
- Chill Long Enough: Don’t rush the chill! Give your bars at least 4 hours to set—overnight is even better for clean slices.
- Sharp Knife for Slicing: Wipe your knife clean between each cut for beautiful, bakery-style bars.
- Sturdy Crust: If you want a firmer crust, add a tablespoon more melted butter, or try pressing it extra firmly before chilling.
- Flavor Boost: Add a swirl of fruit jam or a sprinkle of mini chocolate chips on top before chilling for extra flair.
- Make-Ahead: These bars are perfect for prepping a day in advance—just cover and keep chilled until serving.
For more no bake tips, try my Healthy No Bake Desserts, or explore all kinds of flavor twists in my 3 Ingredient No Bake Cookies collection!
Variations & Topping Ideas
- Fruit Swirl: Drop spoonfuls of your favorite berry jam or lemon curd on top and swirl with a knife before chilling.
- Chocolate Chip: Fold in mini chocolate chips or sprinkle them over the filling for a fun crunch.
- Citrus Zest: Add a teaspoon of lemon or orange zest to the filling for a fresh, tangy kick.
- Nutty Crunch: Top with chopped pecans, walnuts, or toasted coconut just before serving.
- Oreo Crust: Swap the graham crackers for crushed Oreos—check out my No Bake Oreo Dessert for inspiration!
- Peanut Butter: Drizzle with melted peanut butter or fold a few spoonfuls into the batter.
Looking for more fun, shareable treats? See my Mason Jar Dessert Recipes for creative dessert ideas, or try a twist on classic cookies with No Bake Peanut Butter Oatmeal Cookies.
How to Store & Freeze No Bake Cheesecake Bars
- Refrigerator: Store the bars in an airtight container in the fridge for up to 5 days. They’ll stay creamy and delicious!
- Freezer: For longer storage, freeze the bars (cut or uncut) in a single layer until solid, then transfer to a freezer bag. They’ll keep for up to 2 months.
- Thawing: Thaw overnight in the refrigerator for best texture. Serve chilled—no need to bring to room temperature.
- Serving Tip: For clean edges, slice while the bars are very cold, then let them sit at room temperature for 5–10 minutes before serving.
Want more make-ahead desserts? Browse my Healthy No Bake Desserts collection, or try these creative Mason Jar Dessert Recipes for easy grab-and-go sweets!
No Bake Cheesecake Bars Recipe – Frequently Asked Questions
How do I keep no bake cheesecake bars from being too soft?
Make sure to whip the cream to stiff peaks and chill the bars for at least 4 hours (overnight is even better). If your filling still seems soft, check out my no bake protein bites for more tips on creating a creamy, sliceable texture.
Can I make no bake cheesecake bars ahead of time?
Absolutely! You can prepare these bars up to 2 days in advance. Store them covered in the fridge. For more make-ahead treats, see Healthy No Bake Desserts.
Can I freeze no bake cheesecake bars?
Yes, these bars freeze well for up to 2 months. Slice before freezing for easy single-servings. Thaw overnight in the fridge before enjoying. For more freezer-friendly sweets, try No Bake Peanut Butter Oatmeal Cookies.
How do I get clean slices?
Use a sharp knife and wipe it clean between each cut. For extra tidy bars, freeze them for 15–20 minutes before slicing. For more dessert bar tips, see Date Bark Recipe.
For more healthy dessert ideas and nutrition tips, check out resources at EatRight.org and The American Heart Association.
More Dessert Bar Recipes You’ll Love
- Date Bark Recipe – Sweet, chewy, and perfect for snacking.
- No Bake Cottage Cheese Brownie Batter Protein Bites – Creamy, chocolatey, and high-protein.
- No Bake Peanut Butter Oatmeal Cookies – Quick, satisfying, and full of peanut butter flavor.
- 3 Ingredient No Bake Cookies – The easiest treat for busy days.
- Healthy No Bake Desserts – A collection of my favorite better-for-you no bake treats.
Let Me Know If You Loved These No Bake Cheesecake Bars!
These no bake cheesecake bars are the kind of dessert that bring everyone running to the kitchen—creamy, cool, and so easy to make. Whether you serve them at a summer party or just as a weeknight treat, I hope they become a family favorite in your home, too!
If you tried this recipe, I’d love to hear how it went! Leave a comment below, rate the recipe, or share a photo and tag #RecipesNCooking so I can see your delicious creations. 🍰
